Local Rocks and Minerals was developed by Nathaniel Haeck
and Bill Witherspoon as an outreach program of Fernbank Science Center.The four rocks (gneiss, granite,
schist, amphibolite) and one mineral (quartz) are the most commonly found rocks
(and mineral) throughout nearly all of Georgia’s Piedmont and Blue Ridge. In
addition to the main activity that takes place when we visit the classroom, we
have created a pre-visit activity and a post-visit activity.
You can use the individual links in this document
to download the files used with the program, or download all the
resources as a single zip file here.
Rock samples
Gravel bars in many creek beds contain examples of all five
types. You can pick up larger samples and break them up with a hammer to get
many small samples.Be sure to
cover the samples with a rag for protection from flying rock bits.
The activity is done in groups of either 3 or 4 students.Each group will use one sample of each
rock/mineral type for the “big bag” part of the activity and two for the “small
sack” activity – that’s about 21 to 24 samples of each rock type for a typical
class size.The “big bag” samples
are numbered – quartz = 1, granite = 2, gneiss = 3, schist =4, and amphibolite
= 5.
To label the “big bag activity” rocks, print the numbers on
a sheet of paper (colored if you like); and use a single-hole punch to punch
out the numbers as circles. Apply Elmer’s glue to the rock, and place the
circle onto the glue spot, using a toothpick or paper clip to position the
circle on the glue and then to spread excess glue over the top of the circle.
The glue covering the circle will dry clear, and the circle will be resistant
to abuse.
For the “small sack activity”, in addition to 2 unnumbered
samples each of the above rock/minerals, each group will also need one
“non-rock” (piece of cement, brick, or asphalt) and one “mystery rock” (another
rock found in the area such as pegmatite or marble).
Bagging the samples
For each group’s kit, place the 5 labeled samples into a bag
that can be distinguished (“the big bag”) from the 4 other bags (the 4 “small
sacks”).We use cloth bags (that
we made on sewing machines) for durability, and the big bags and small sacks
are different in color.Place any 3
of the unlabeled samples in each small sack.
Class activities
As designed for third graders, the activity defines roles
for each member of a three or four student team.The roles are spelled out on the reverse sides of the
handout pages. Typically the class proceeds as follows:
Mats are placed on the tables. Handouts are distributed and
students are told to note their roles. No rocks are distributed at this time.
The five rock/mineral examples are introduced one at a time
on screen as the teacher leads the students to write down the characteristics
of each rock or mineral on the front side of the handout.The prescribed list of what the
students are to be writing down is here. The list is filled in on-screen by the
teacher using an MS Word document or Promethean Active Studio File.
The Coordinator, Big Bag Boss, and Mat Manager roles are
described to the students. In particular the Coordinator must know only to
bring out the “big bag” for the first activity.Small Sack Supervisors are told that they will be briefed at
the beginning of the second activity.
The Coordinators are called up to get their kits (consisting
of the big bag and the 4 small sacks in a large clear zip-lock type bag).They deliver just tbe big bag to the Big
Bag Boss who places the samples on the “Other” square on the mat.
The Big Bag Boss leads the group through moving the samples
to their correct boxes. The teacher circulates to check whether the samples
were placed accurately (When correctly placed, the numbered samples should be
on the mat in the order 2-3-1-5-4).
The Mat Manager then runs the “quiz” to ensure that each
student is successful in placing the samples on the correct square (after the
samples are all grouped on the “other” square).
When all teams have had all their members successful on the
quiz, the teacher announces the small sack activity and explains the role of
the Small Sack Supervisor.
Students must place their allotted samples on their small
sack before the Supervisor can say “go.”Then each student must put the unlabeled samples at their position on
the mat.There will be exactly two
samples per square, including the non-rock and the mystery rock on “Other.”
The teacher circulates to make sure samples have been placed
correctly, then that the “non-rock” has been recognized, and lastly encourages
students to use the chart on the back to identify the mystery rock.
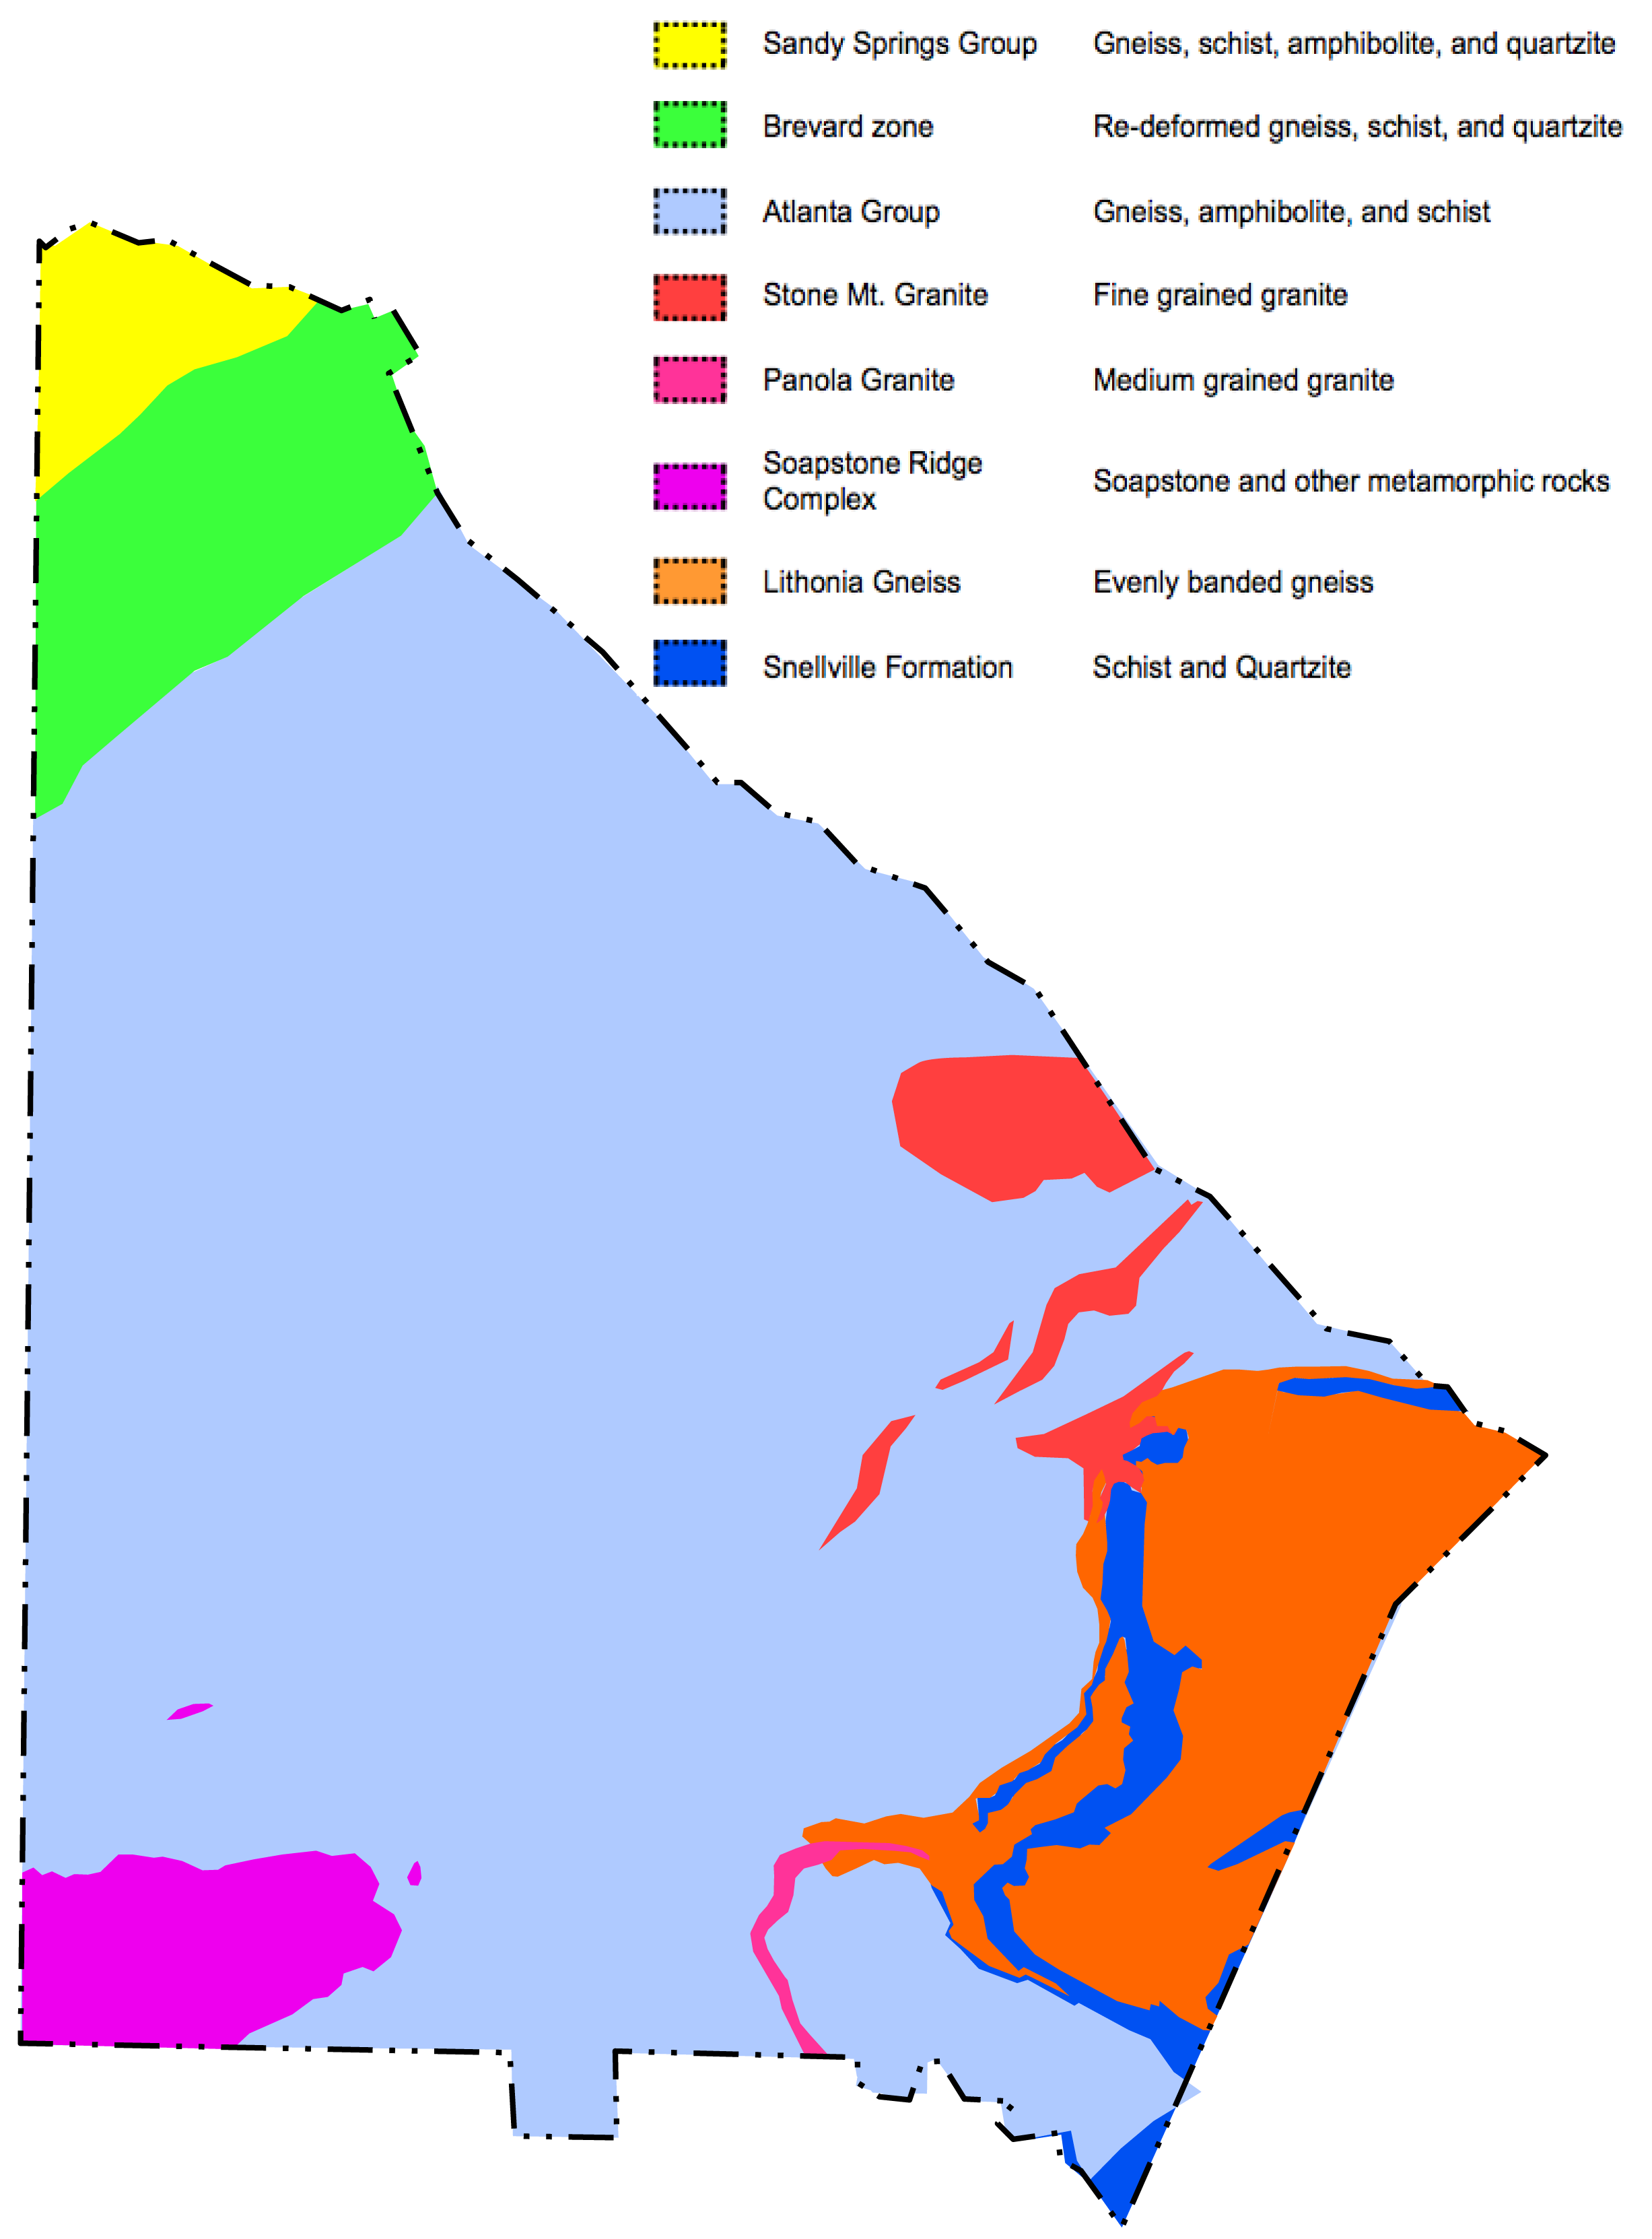
Time permitting, we often finish a class visit by discussing
the different rock types on the DeKalb Geologic Map and between the different
provinces of Georgia on the state geologic map.
Questions/problems? Visit the Georgia Rocks Discussion Board.
If you don't see an answer to your question there, please click on
"Send email to this group" at the bottom of the page (rather than
"Post", which might require you to sign in to a Google account).